Single Sign-On (SSO) Configuration
How do I configure SSO in LiveHelpNow?
What is SSO?
SSO or Single Sign-On is an authentication method that allows end users or Agents to securely authenticate their account with multiple different applications and/or websites by using just one set of log in credentials. This increases security by ensuring that all related accounts use the same password policies and also increases efficiency by streamlining the log in process.
At LiveHelpNow we can integrate with numerous SSO providers and we have three different options for the style of SSO you would like to configure. We'll explain the three different types below.
What are the three scopes of SSO available?
We offer three types:
-
Agent Match Only
-
Agent Match and Create
-
End User
If you want to configure SSO for your LiveHelpNow users, you need to select Agent Match Only or Agent Match and Create. Agent Match Only is if you want to manually create the Operators for your users by going to Admin Panel > System Setup > Operators. This option gives you the greatest level of control over who should have a user license in your LiveHelpNow account but does require the manual creation of the Operators before the Agents are able to log in. Agent Match and Create removes the need to manually create the Operator records for every user. Once you have successfully configured SSO, this option will create an Operator record for every user in your SSO once they try to log in if an operator record does not already exist (N.B. This uses the email address as the unique identifier). Please note that this option will automatically add operator licenses to your subscription for every Agent who tries to log in with SSO and you will not be notified of the additional license to your bill. This option will also ask you to provide which Departments the new agents should be assigned to as well as what data they should have access to. This can be altered at a later date by going to Admin Panel > System Setup > Operators.
If you would like to configure SSO for your own end users or customers then please select End User. This would allow your customers to be able to log in to your LiveHelpNow support portal which can be configured by going to Admin Panel > Support Portal. This allows your customers or end users to be able to see their Chat and Ticket History with yourselves as long as they use the same email address that they used to log those records. The permissions can be configured for this by going to Admin Panel > Support Portal > General Settings > Portal Functionality and Security.
How do I configure SSO?
The following steps are the same no matter which Scope (Agent Match Only, Agent Match and Create, or End User) is chosen:
-
Log in to your LiveHelpNow account and switch to the Admin panel. Select 'Security' > 'Single Sign-On' in the left sidebar. Or search "SSO" in the search bar.
-
Provide Name (this is internal so you can identify which app it relates to), Domain, Identity Provider and Scope
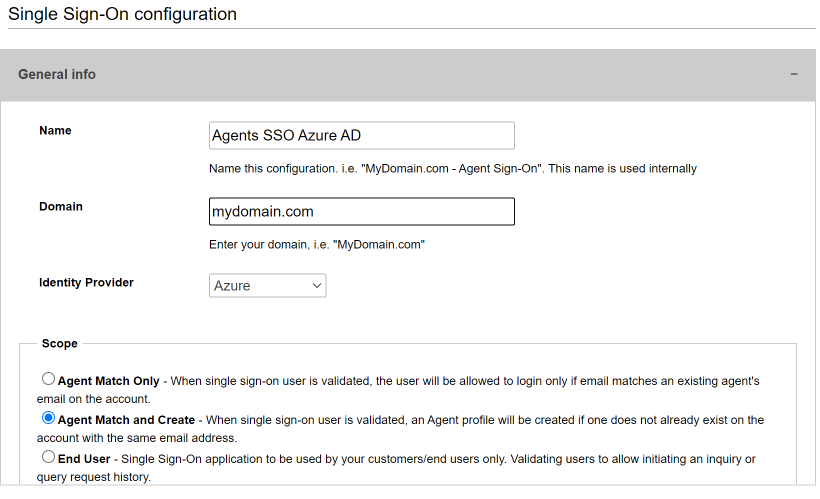
Please make sure that the domain is defined without http(s) and www. -
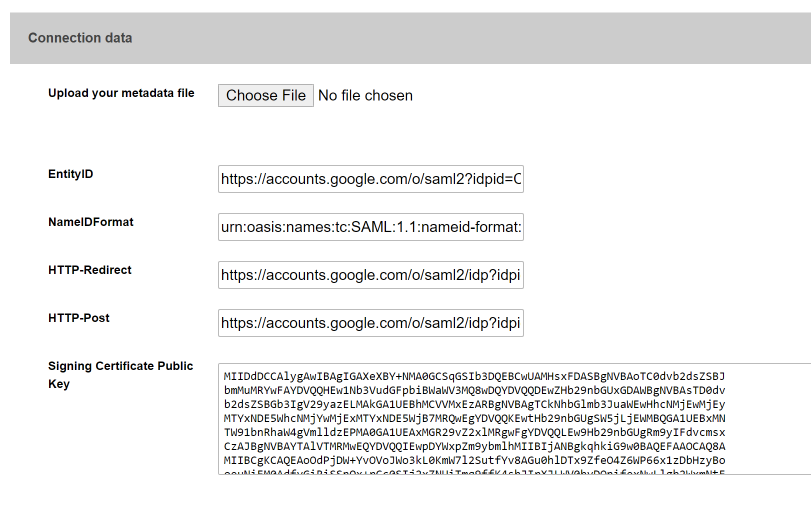
Upload the metadata file which will then autopopulate the following fields or if you don't have the metadata file, manually enter the data from your SSO provider. We would recommend copy and paste if entering manually, to avoid any errors typing the data.
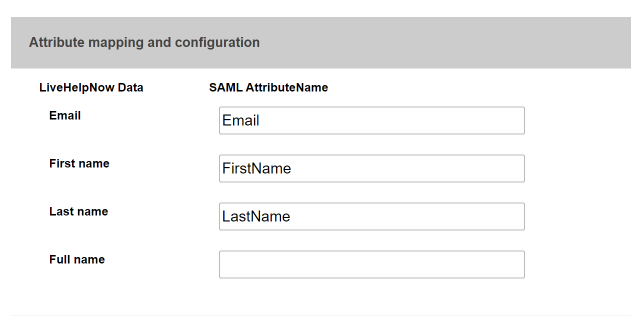
- Map the SAML Attributes (or field names) to the LiveHelpNow data values. The minimum that is required is Email Address.
- Download the LiveHelpNow connection metadata file to finish setup of LiveHelpNow app within your identity provider configuration.
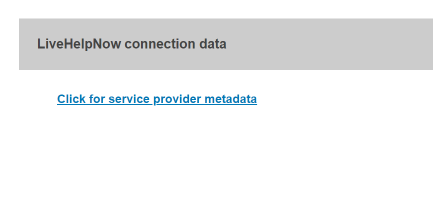
- Go to your SSO provider and configure for LiveHelpNow using the downloaded metadata file from Step 5.
If you need assistance, we have guides for configuring Google SAML and Azure AD which are available here:
If you have any questions or need further assistance, we're always here to help. Start a chat with us or email us at [email protected]